
Custom Transaction Forms module is used to configure the forms used in the Sale Order / Job and Quote Transactions
To access this module please navigate to the Setup >> System Settings >> Jobs / Scheduling
Setup New Form
. Add Form Header
. Add Sale Order Header Fields
. Add Sale Order Line Fields
. Add Schedule Fields
. Add Text
. Add Signature
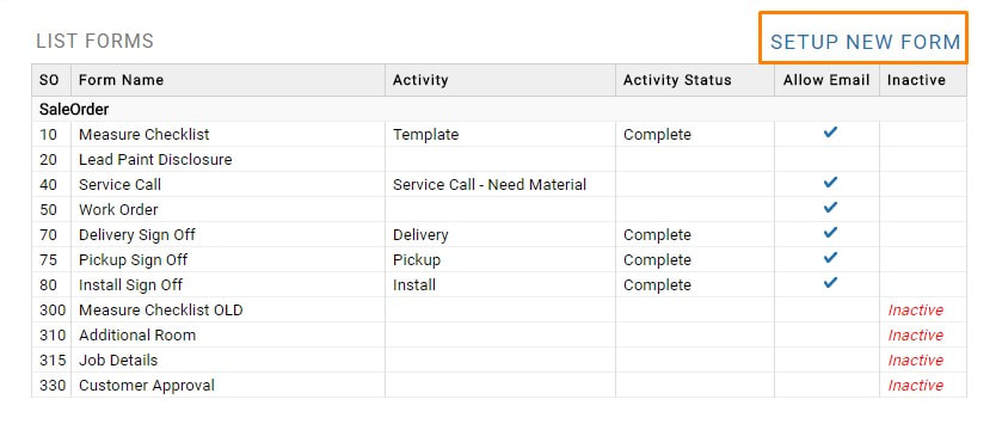
List Forms
. Update Form
. Duplicate Form
. Make Active / Inactive Form
. Delete Form
SET UP NEW FORM
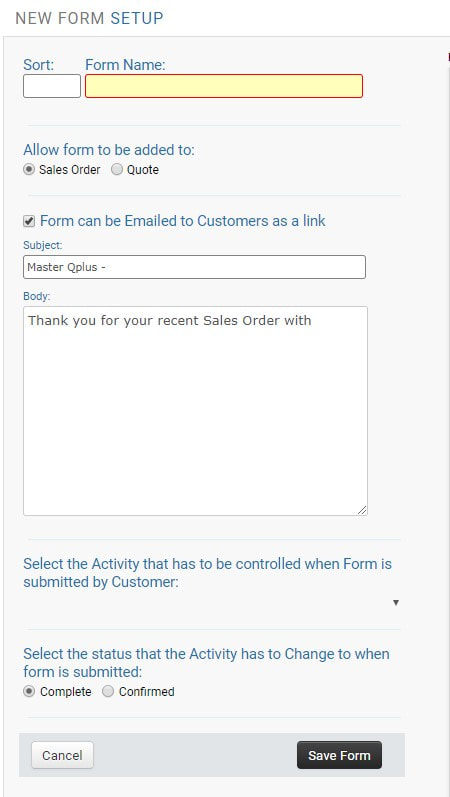
Sort - Sequence of the forms to be ordered
Form Name - Name of the form to be used to identified
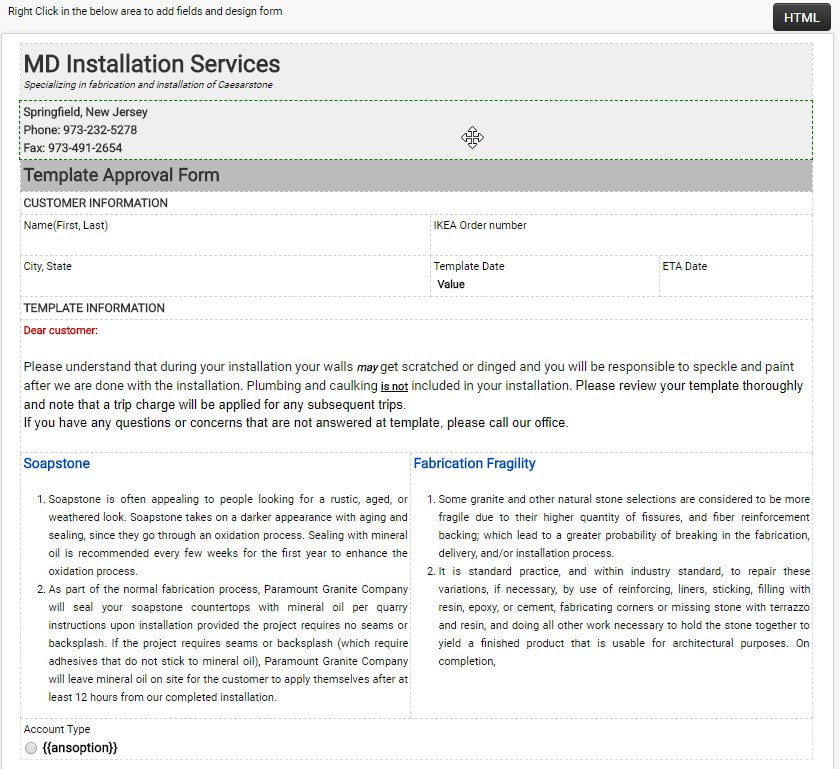
HOW TO ADD FORM HEADER
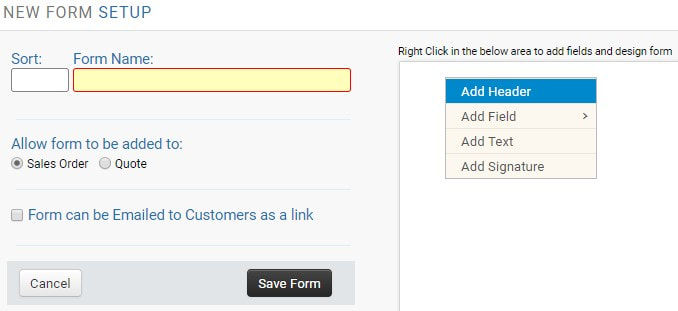 | Right Click to get options menu Add Header - Takes you to default header screen. Add Field - To add custom field to a form. Add Text - To add text content. Add Signature - Takes you signature screen. |
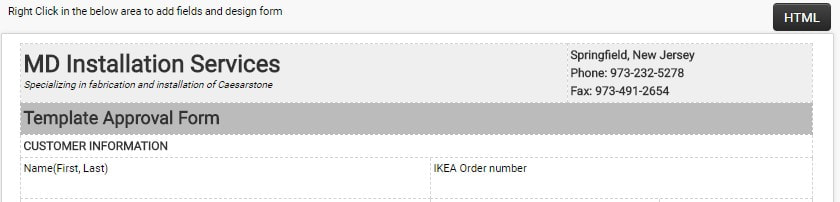
ADDING HEADER FROM ADD HEADER
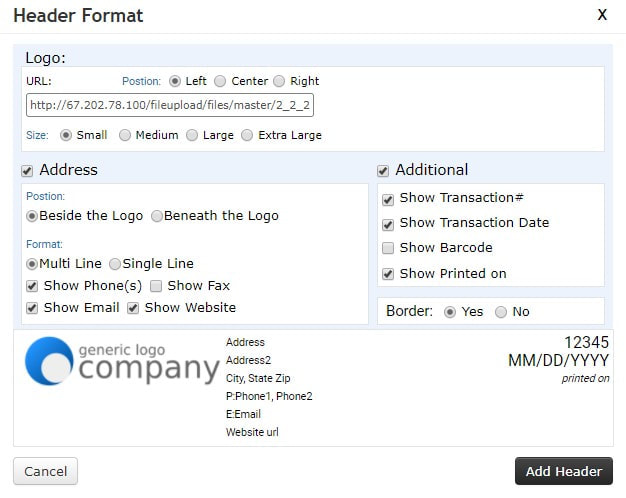 | URL - Logo picture path. Position - Log alignment in form. Size - Logo picture size. Address - Company address with position alignment and format. Additional
|

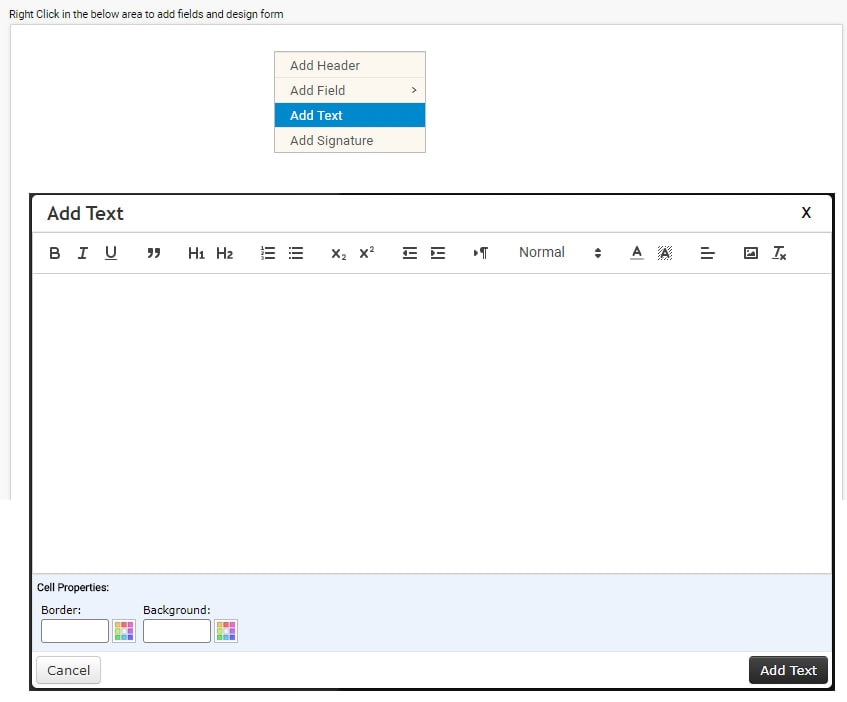
ADDING HEADER FORM ADD TEXT
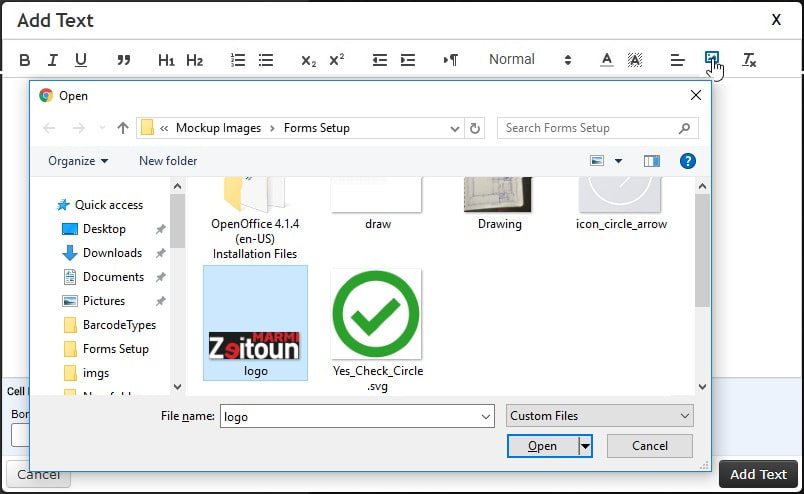
ADDING IMAGE IN TEXT
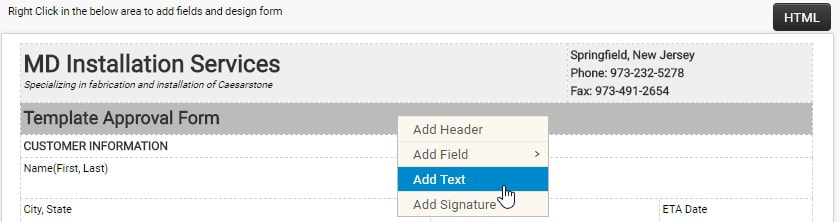
ADDING NEW ELEMENT IN SAME ROW
Right click on the row select Add Text enter the text in editor and save it.
Now element will add next to current element like following.
Now element will add next to current element like following.

DRAG AND DROP ELEMENTS
Keep cursor on the element which you want drag and click + Hold then move the cursor to where you want drop.
After Highlighting like following image release the click to drop that element.
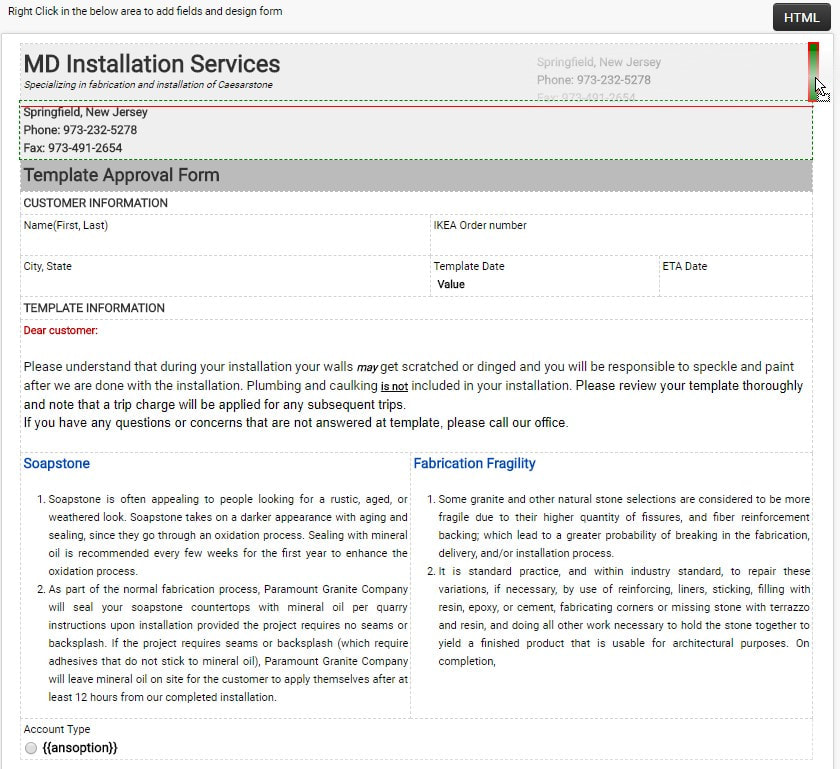
Now both the elements are in same line like in following image.