
After clicking the CRM tab in a Detail Page, the list of previously created CRM events will display below with an area for creating a new event to the right. Fill out the form and click "Add Event" to save the event to the list of CRM events on the current page.
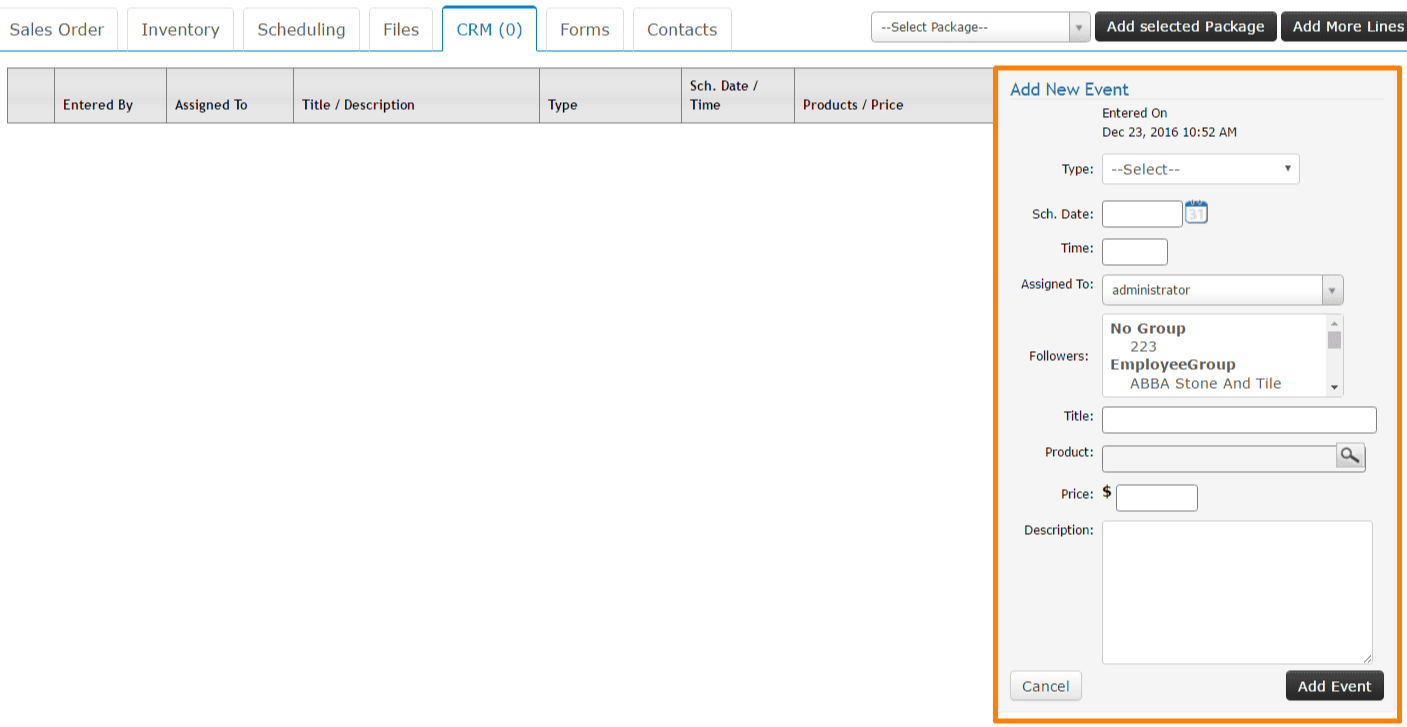
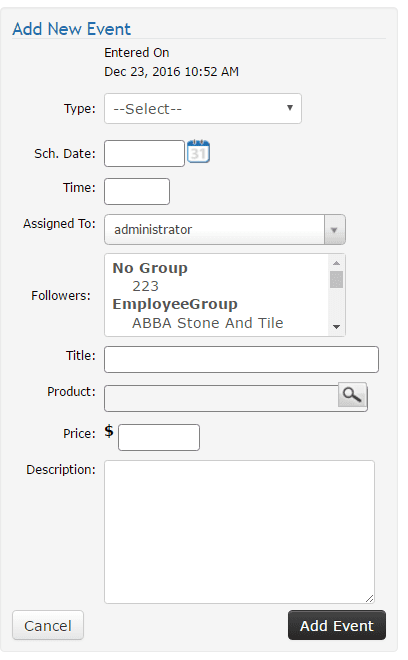 | Type: This is a category assigned to the event you're making. This will allow filtering your list of events by the type. These might have names such as Follow-up, Message, Collection Call, etc. Sch. Date: The date set here will dictate where the events is positioned on your calendar. Time: The time field can be used to organize timing of events within one day. Assigned To: This will be primary person whose list you are adding the CRM event to. Keep it set to your username if you are setting an event for yourself. Followers: You can choose multiple others to send the same event simultaneously. Hold the Ctrl button to select more than one follower. TItle: Add a heading to your message in this field. Product: You can search your list of products to reference one on your CRM event. This will allow for easily clicking to see your inventory availability or other info about the product. Price: Type a price here if one was discussed about the above mentioned product. Description: Type the body of your message here. |
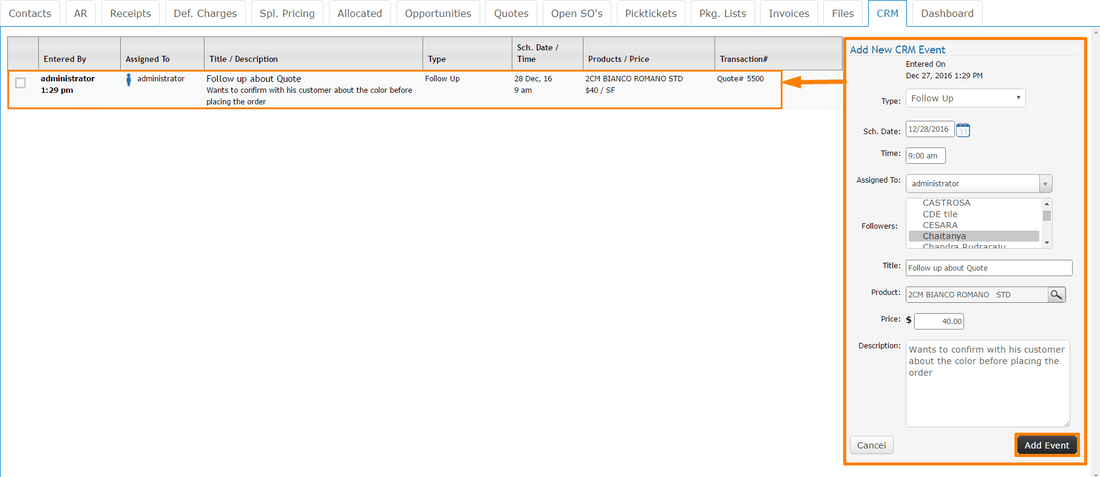
This event will be added to the CRM tab in the transaction you are working with, customer/supplier page, product page. It will also add to your list of events and calendar of events.
Click the text bubble icon on the top bar of your system to see your list and calendar of CRM events.
