|
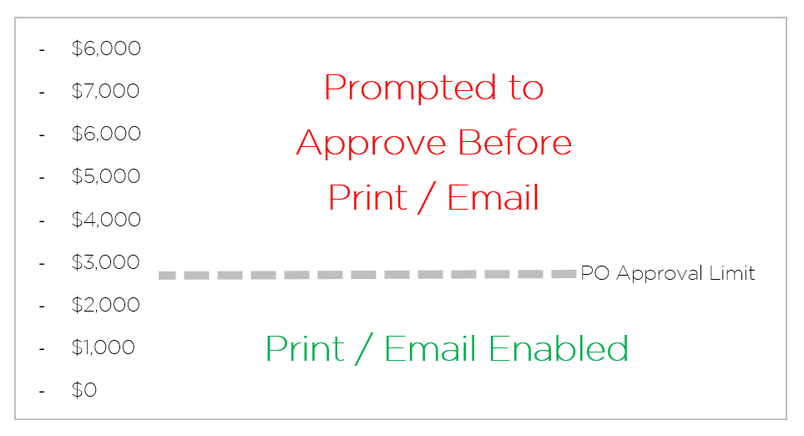
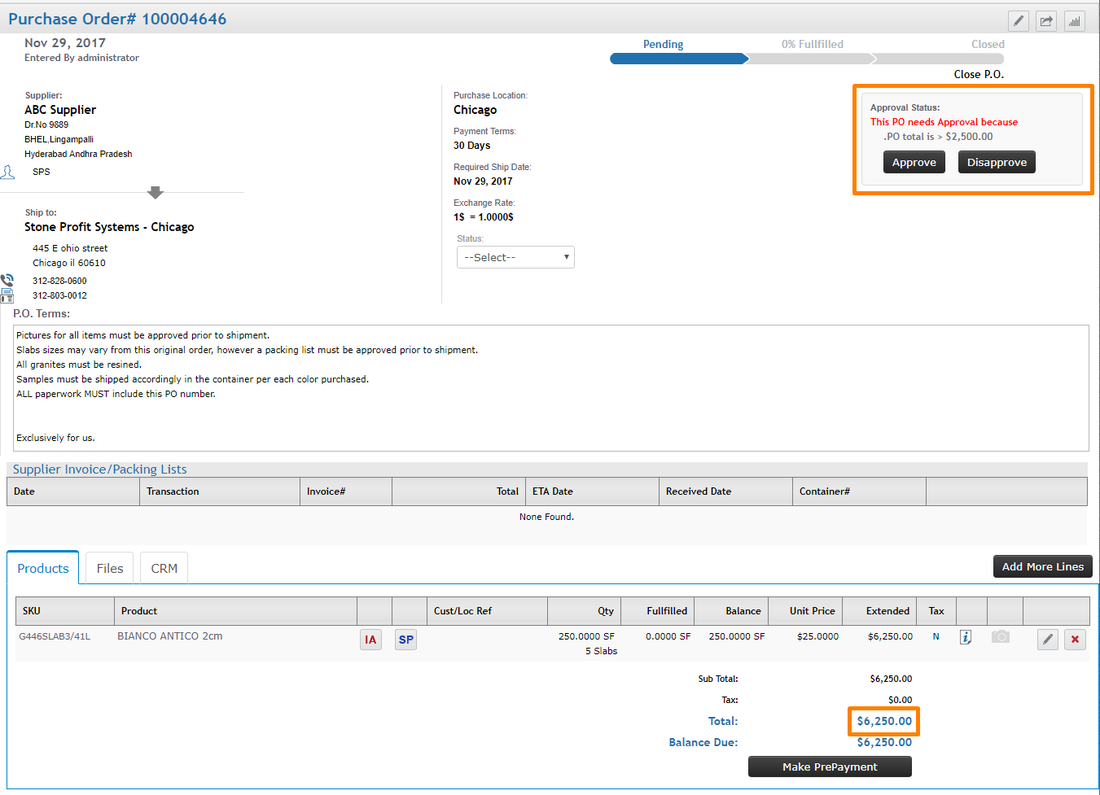
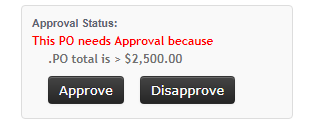
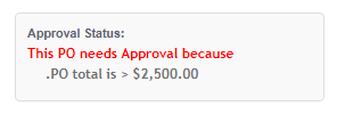
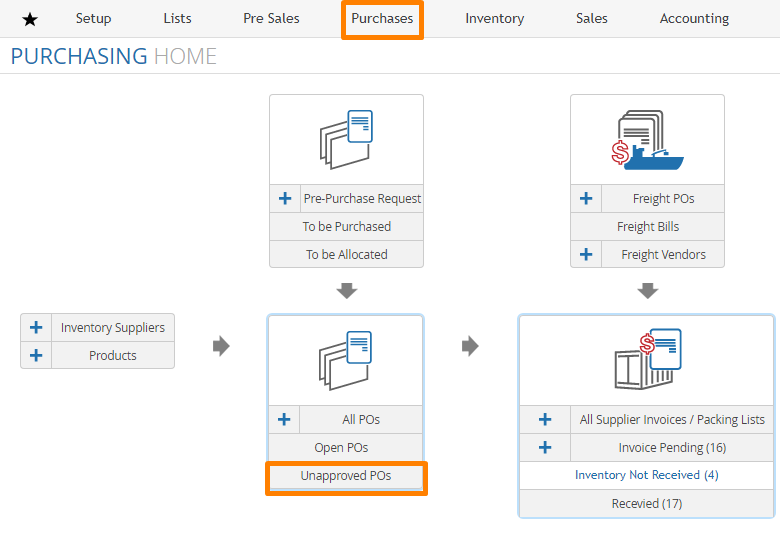
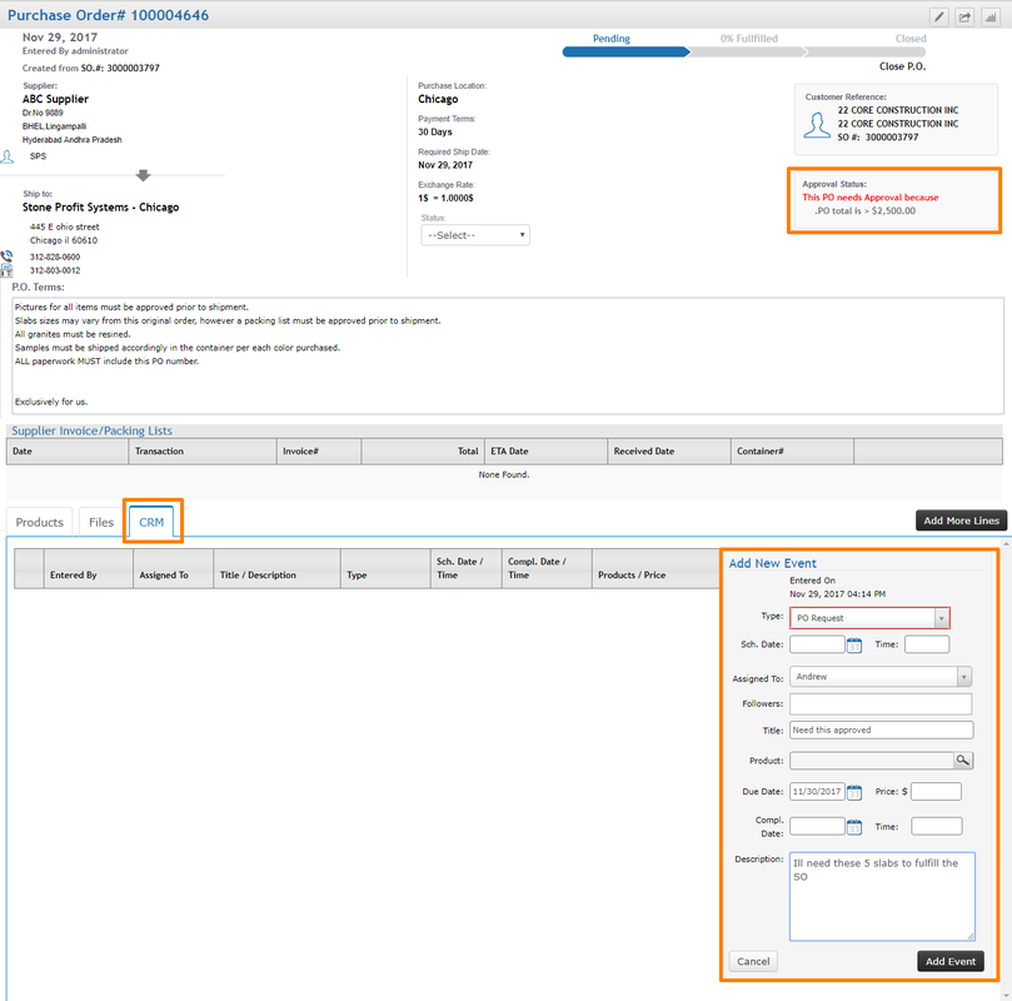
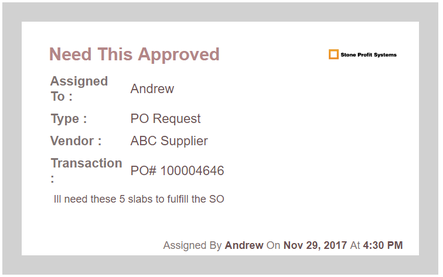
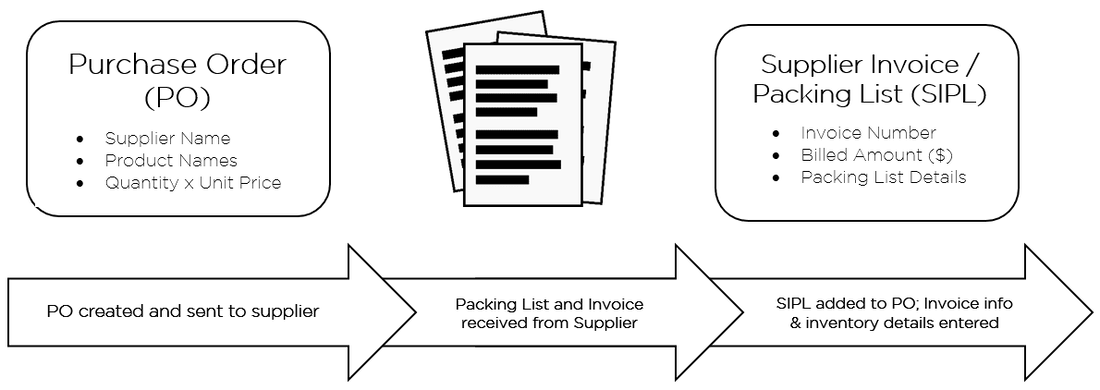
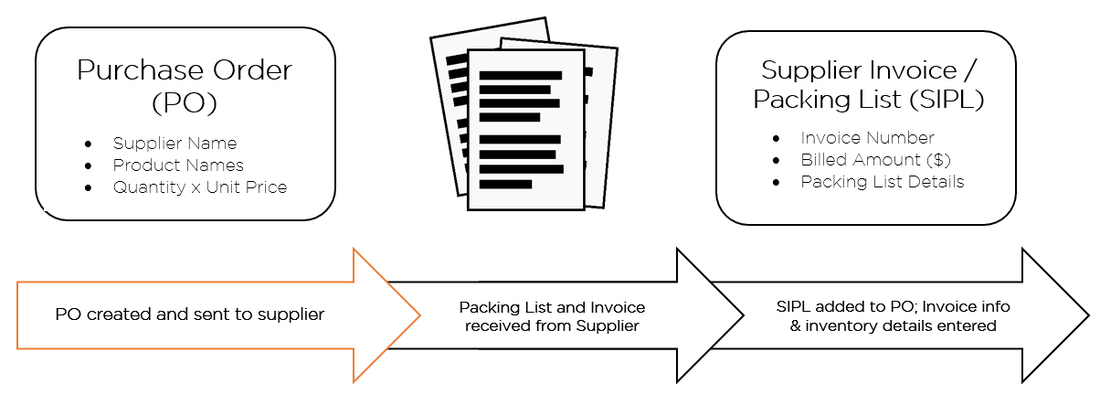
Your system can be configured to require an approval from specifically designated users before allowing others to print or email purchase orders. The first step is determining the dollar amount of which an approval should be required by a manager before the PO can be sent out. You can only assign one limit in the system to be the maximum amount allowed to send without approval. Pictured below is an example of a purchase order page with a PO approval notification. In this instance, the PO entered is for $6,250, exceeding the PO approval limit of $2,500. The ability for a user to approve or deny a PO is dependent on the permissions allowed for the user group of the user logged in. If a user group does not have the permission to approve POs, they will see a notification on the PO page, but will not have the "Approve" or "Disapprove" buttons. There are two methods for making sure your purchase orders are moved through the approval process in a timely manner... METHOD 1: In the Purchasing Home of your system, you can find a list of "Unapproved POs" which will update automatically as new POs needing approval are entered. This would need to be checked periodically to be kept up to date. METHOD 2: When a user who cannot approve POs is presented with the approval notification on the PO, they can send a CRM event to the person responsible at your company for approving. They can simply click the "CRM" tab within the PO page, then assign the event to the necessary person for approval. Adding the CRM event will automatically send an email to the assigned user. Upon approval, another CRM event can be created on the PO page to send a notification about the approval to the person who initially requested it. The purchasing process in Stone Profits is typically arranged to require creation of a Purchase Order (PO) before you add in the individual details about each slab/item being brought in (Lot #, Pricing, Dimensions). PURCHASING OVERVIEW 1.) Create a Purchase Order - Enter the Supplier's details and then select the products being ordered including total quantities and unit prices.
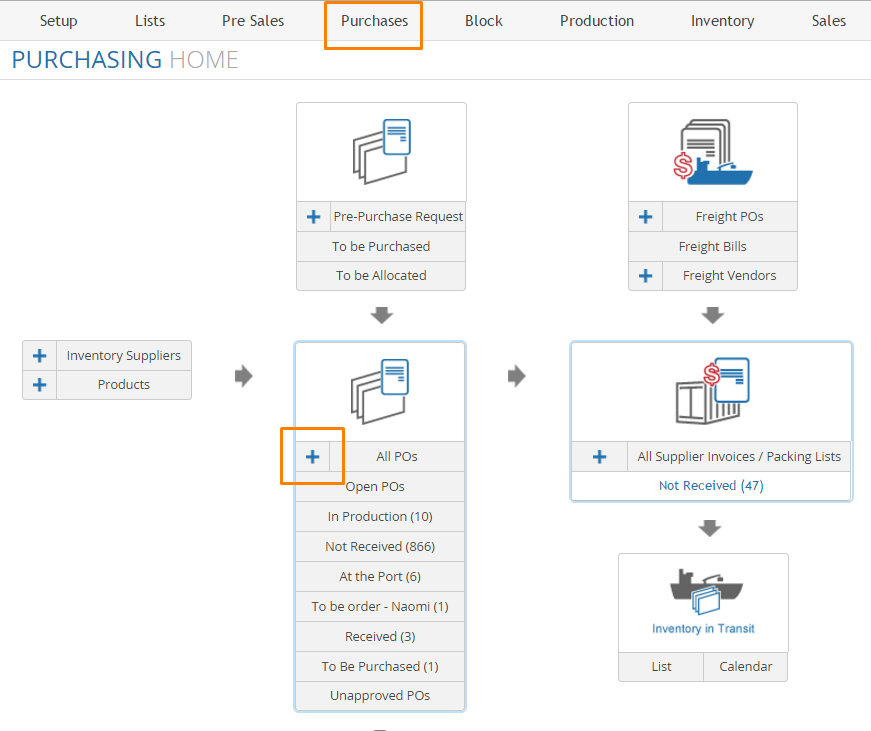
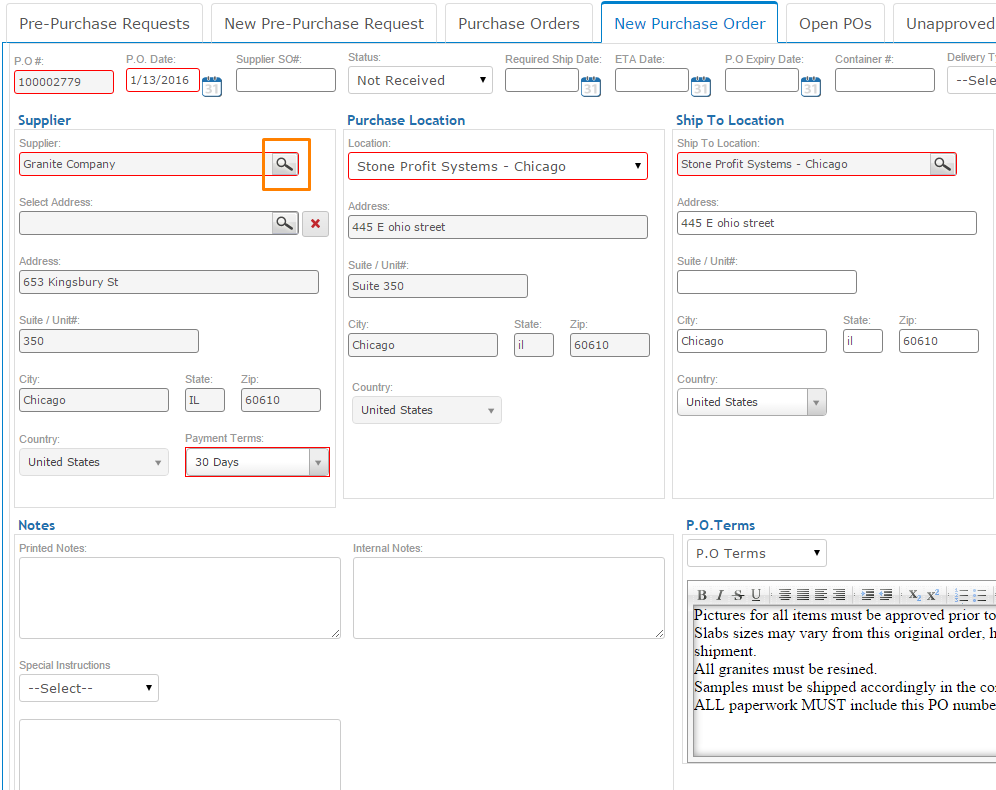
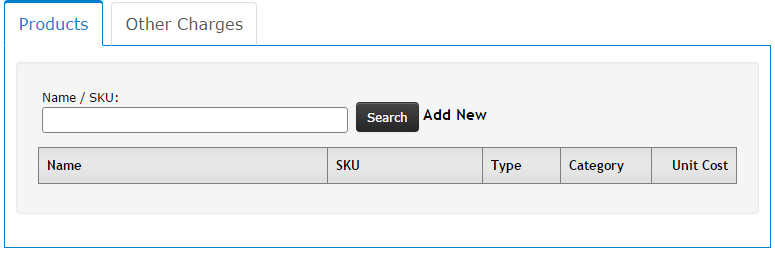
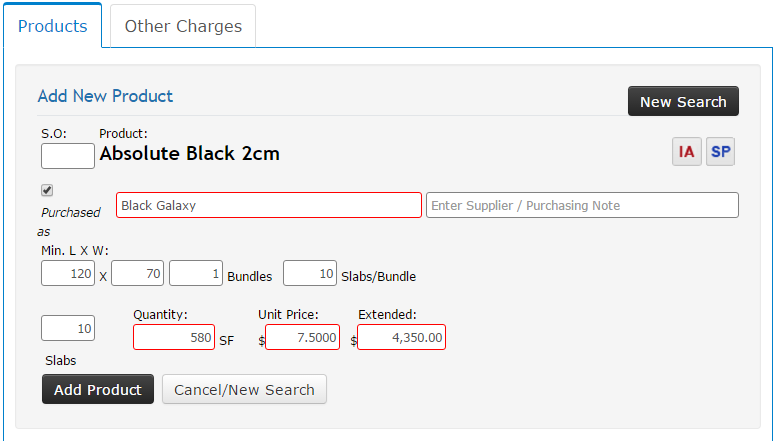
2.) Receive SIPL - physically obtain the Invoice and/or Packing List from your Supplier. 3.) Add a Supplier Invoice / Packing List (SIPL) - Add SIPL to existing PO and enter the Supplier's Invoice number and other additional details. 4.) Enter Packing List Details - Enter details for each inventory item you are bringing into the system. This usually includes Lot numbers, bundle numbers, dimensions, and bin location in your warehouse. 5.) Print Receiving Worksheet - The receiving worksheet will list all items added on the last step. You can measure each item to compare the received sizes to the sizes on the packing list and then update the received (actual) sizes. 6.) Print Barcodes - Each serialized item will have a unique barcode identifier assigned by the system. 7.) "Receive" Inventory - This is the step which moves the items entered from the packing list into your list of available inventory. After receiving, you can select these items for Holds/Sales. 8.) Add Freight Bills - Bills/Invoices from third-party freight vendors can be added to the SIPL. The amount will attribute to your landed cost per unit of measure. 1.) On the main menu, click Purchases to be taken to your Purchasing Home. Then, click the Plus Sign near “All POs” to begin creating a new purchase order. 2.) Press the search box icon to choose from a list of all suppliers in your system*. After selection, text fields will populate with the information entered for the supplier when it was created. Fill in as much other applicable information as possible. When finished, click the button at the bottom right of the page ("GoTo next step to add products"). *If you cannot find the correct supplier in the search box, you may want to check if they have been added yet in the List Home. 3.) On the next page, use the product search to find the item(s) you are ordering. All items added to your product catalog can be found in the search. 4.) Enter the quantity and unit price of your order. You can specify the minimum length/width and number of slabs per bundle, or simply enter the total square footage. Click "Add Product" when you are finished. Each product added will be listed on the left side of the page. NOTE: If you know your supplier sells the material under a different name than you will be selling it as, you can check the "Purchased as" box and enter in any name. 5.) When you're finished adding all items to the order, click "Save" and you will be taken to the detail page for the purchase order. If you've already received an invoice and/or Packing List from the supplier, you'll want to continue to the next step- Add an SIPL to a PO.
|

