
The purchasing process in Stone Profits is typically arranged to require creation of a Purchase Order (PO) before you add in the individual details about each slab/item being brought in (Lot #, Pricing, Dimensions).
PURCHASING OVERVIEW
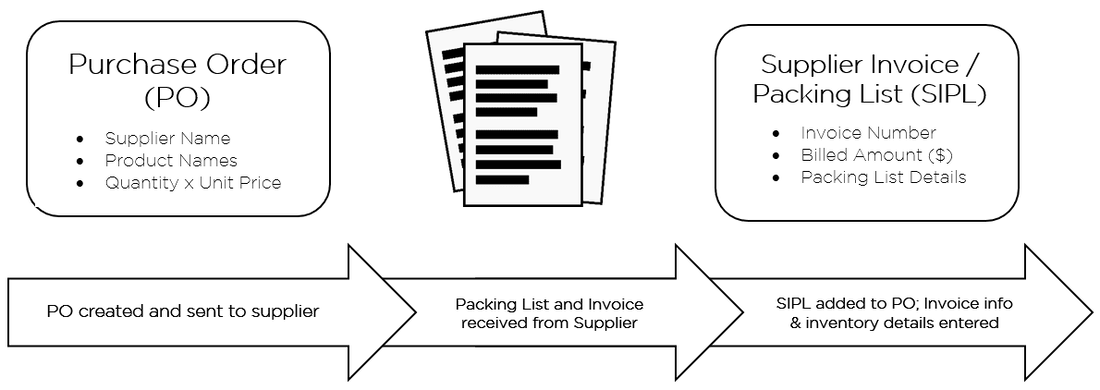
1.) Create a Purchase Order - Enter the Supplier's details and then select the products being ordered including total quantities and unit prices.
2.) Receive SIPL - physically obtain the Invoice and/or Packing List from your Supplier.
3.) Add a Supplier Invoice / Packing List (SIPL) - Add SIPL to existing PO and enter the Supplier's Invoice number and other additional details.
4.) Enter Packing List Details - Enter details for each inventory item you are bringing into the system. This usually includes Lot numbers, bundle numbers, dimensions, and bin location in your warehouse.
5.) Print Receiving Worksheet - The receiving worksheet will list all items added on the last step. You can measure each item to compare the received sizes to the sizes on the packing list and then update the received (actual) sizes.
6.) Print Barcodes - Each serialized item will have a unique barcode identifier assigned by the system.
7.) "Receive" Inventory - This is the step which moves the items entered from the packing list into your list of available inventory. After receiving, you can select these items for Holds/Sales.
8.) Add Freight Bills - Bills/Invoices from third-party freight vendors can be added to the SIPL. The amount will attribute to your landed cost per unit of measure.